

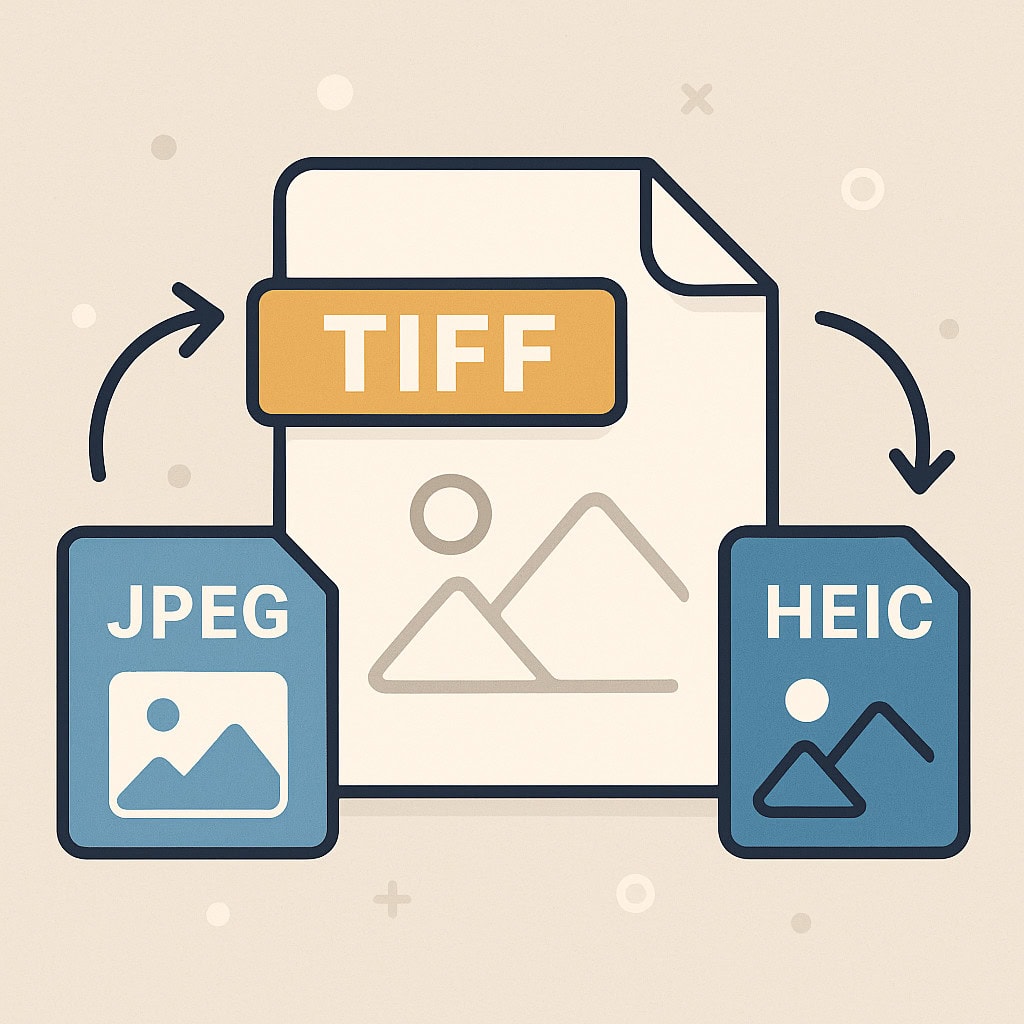
Even if you work mainly in RAW, you undoubtedly have images in JPEG or HEIC in your catalogue (notably from your smartphone or a lightweight camera). The question then arises: Is it really worth converting an 8-bit jpeg file into a 16-bit TIFF before editing it in Photoshop? and above all, why?
The answer is yes, there is more interest than you might imagine and in this article I explain why. 🤓
1. Understand the difference between 8 bits and 16 bits
JPEG, HEIC or HEIF files are all 8 bits per channel. This means that they can contain up to 256 shades per RGB channel or approximately 16 million colours. On the face of it, this already seems enormous. But in the reality of photo post-processing, these 256 levels will very quickly become limiting.
Conversely, a 16 bits per channel allows 65 536 shades per channelor over 280,000 billion possible colours. It is this richness that allows for more flexible adjustments, particularly subtle shades of sky or skin, for example.
2. Why convert an 8-bit file to a 16-bit TIFF?
It's a fact: you won't find the information you've lost during the initial compression (from a JPEG, for example). So why convert? Because Photoshop performs its internal calculations with much greater precision in 16-bit mode This reduces visual artefacts during editing.
Here are the concrete benefits:
3. In practice: what this means for your workflow
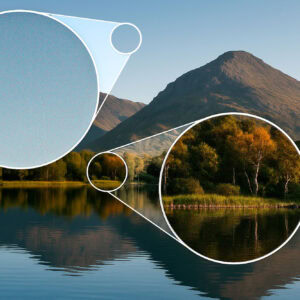
Let's imagine a landscape photo in HEIC format taken in low-angled light, with a pastel sky. In 8-bit format, any retouching of exposure or colour can cause visible breaks in the sky ("banding" effect). By first converting it to 16-bit TIFF, you have more room for manoeuvre, even if the original information remains limited.
In plain English: you don't gain detail, but you avoid losing more detail in touch-up! 😮💨
4. When is this conversion really useful?
5. How do I convert to 16-bit TIFF?
⚠️ Small clarification: switch the image to 16 bit before to start your adjustments, otherwise the damage will already have been done.
6. Conclusion: a little goes a long way
Even if you don't recover lost data from a JPEG or HEIC, converting to 16-bit TIFF before any retouching preserves the finesse of transitions, improve the precision of toolsto optimise the final image quality. Breakage will be limited 😅 !
It's a simple but invaluable trick, especially when you're looking to obtain images of the highest possible qualityincluding from non-RAW sources. In nature and travel photography, where every detail counts, this step can really help make the difference.
I hope that this article has helped you through the jungle of file formats, and to understand them a little better.
If you would like to read For more articles on post-production, I invite you to browse the category in question.
Thank you for visiting and see you soon 📸,
Photograph your
David


Hello David
When you don't have Lightroom, are there any free online converters for transforming an iPhone HEIC file into a 16-bit TIFF?
Thank you for your feedback, kind regards.
Lionel
Hello Lionel,
Yes, there are online converters, but I wouldn't particularly recommend them for this type of work. Many convert HEIC to TIFF well, but not necessarily to true 16-bit TIFF, and they can also remove metadata or compress/reprocess the image.
If you're on a Mac, the easiest way is to use Preview or Photos, then export to TIFF. For more serious editing,a solution like Affinity Photo, Photoshop Elements, ON1 Photo RAW, DxO PhotoLab or Capture One will be more reliable.
It should also be borne in mind that an iPhone HEIC does not always contain as much information as a RAW/ProRAW. Converting it to 16-bit TIFF does not create new information, but above all allows for subsequent work in a less destructive format, especially if several editing steps are planned.
Kind regards,
David