Long exposure is like the magic of time in photography. Where a traditional photograph freezes a moment, long exposure captures the movement, the flow, the trace of time. Clouds that stretch, waves that melt, rivers that become silk, lights that dance...
This technique, which is accessible to everyone, transforms an ordinary scene into a poetic, vivid image. You don't need professional equipment to get started: just a tripod, an ND filter, a little patience and, above all, the desire to experiment. 👍
In this article, I'll take you step-by-step through the process of understanding the principle, choosing the right equipment, calculating the exposure time and getting your first long exposure shots.
1. What is a long exposure?
Long exposure is a photographic technique. As its name suggests, it involves taking a rather long shot, from a few seconds to several minutes or tens of minutes.
This technique creates a sensation or illusion of movement in an image. (which usually freezes / fixes a reality). It is often said that an image is the immortalisation of a moment in time. Long exposure captures a space in time, which is different from video.
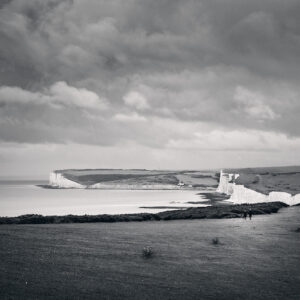
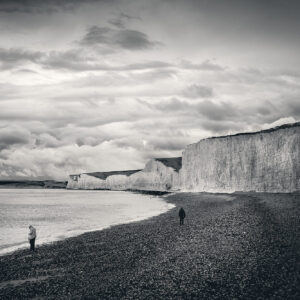
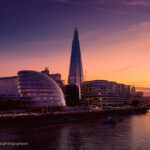
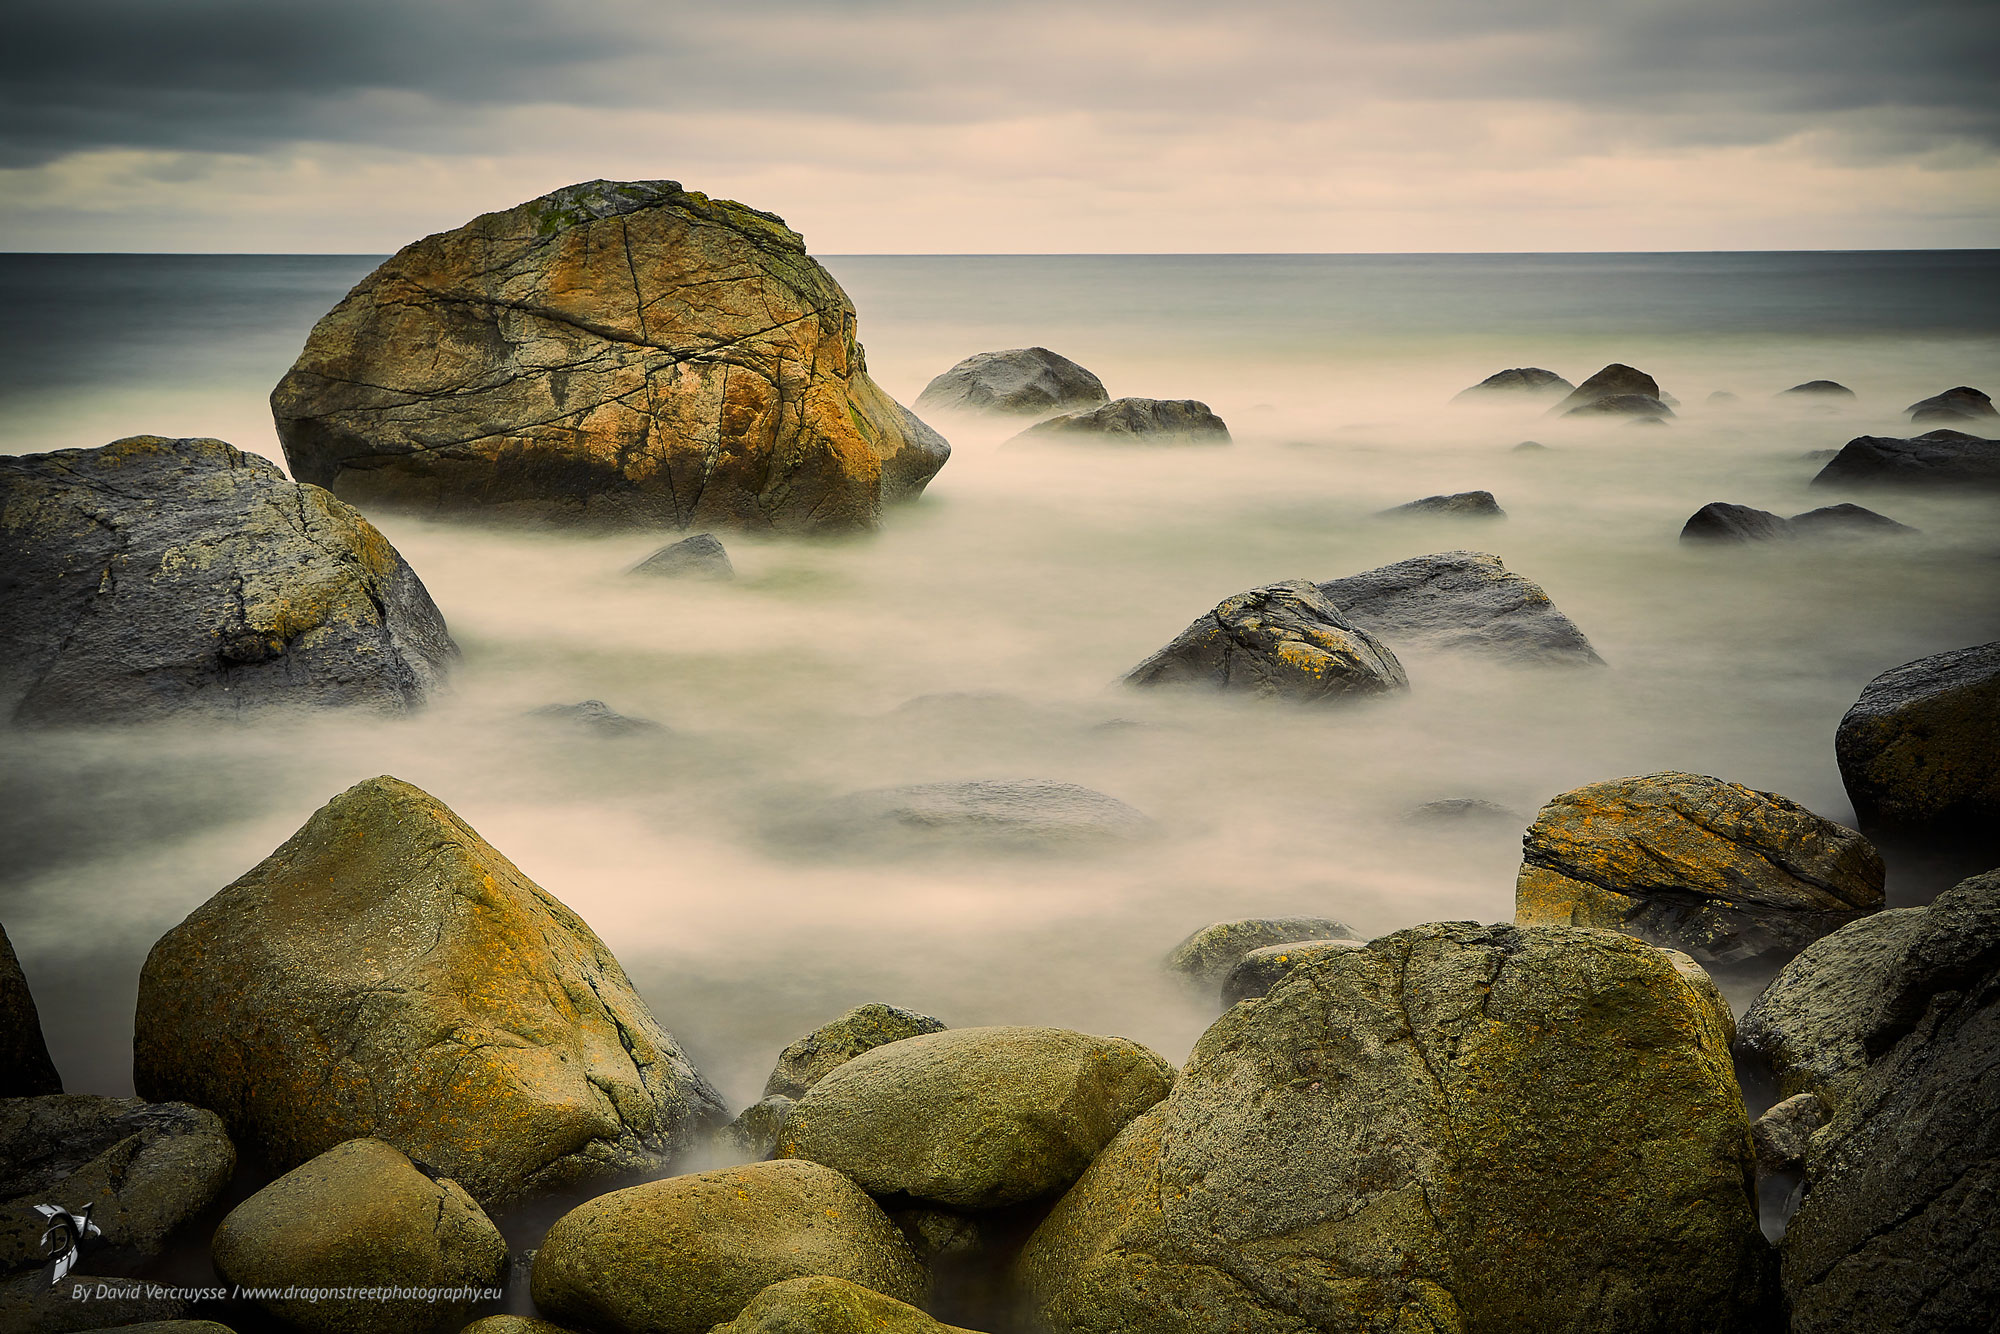
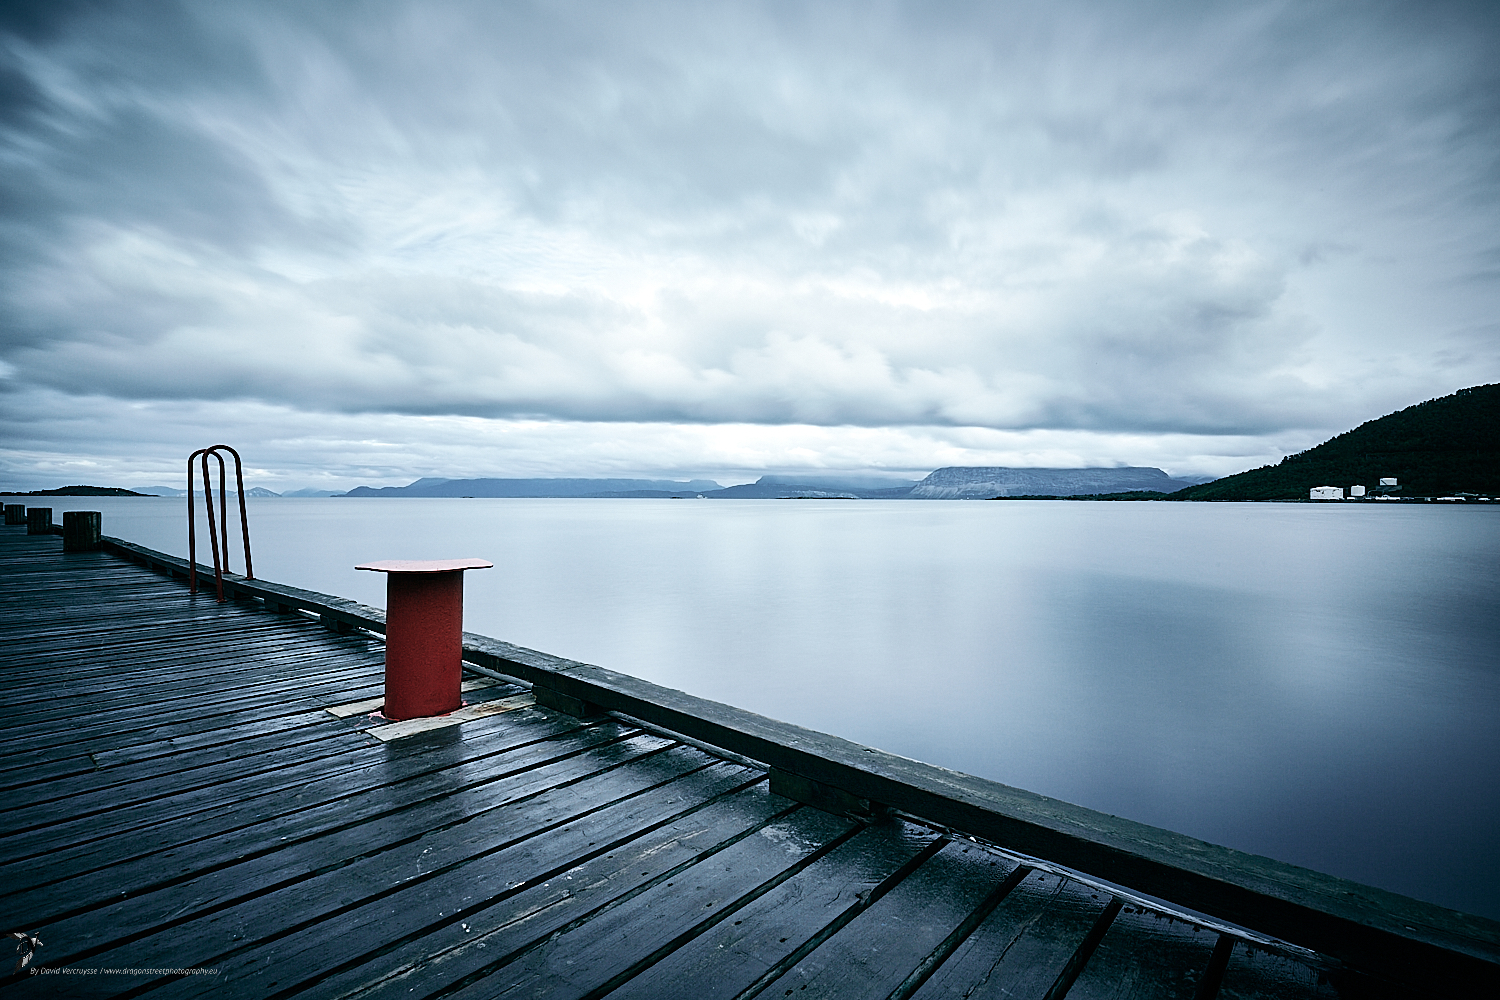
Long exposure photography during the day will give the illusion of movement in clouds by making trails, in streams a creamy, dreamy effect etc.... Obviously, to get the best results, you need movement 😀
There's no point in trying a long exposure if this isn't possible! Other examples: photographing waterfalls or waves on the beach gives fantastic misty or vaporous effects! As you can see, long exposure is really creative!
2. What equipment do you need?
What do you need to do long exposures? Good news! First of all, you don't need top-of-the-range or professional equipment to make beautiful long exposures!
Neutral density (ND) filters
3. How to use your device
The first thing with long exposure is to take your time, because the shots are long 😏 sometimes even very long!
I think everything's ready, set up, framed, now focus where you want and take the shot! Check that the photo is exactly what you want.
If you're happy with the exposure, framing and sharpness, you're all set. Now switch off the autofocus if you had been using automatic focusing. in any case, your autofocus won't work with neutral density filters because it will be too dark)
Now that If you have a "reference" photo with the basic exposure time, we can calculate the long exposure!
4. Set a creative exposure time and let's get started!
4.1 Example of installation time calculation
Let's assume that the reference photo taken above was 1/50 at f/11 and that I used an ND800 filter; my exposure time would be : 800×50 = 4000 or 4 seconds. 😎
However, be careful, if I've placed 2 or more ND filters, the effect multiplies: if I placed an ND800 and an ND1000: I would have a total ND of 800×1000 = 8000.
My calculation of pause time (still based on my reference photo done at 1/50th) will then be 50×8000 = 400000 or 400 seconds or 6 minutes 40 seconds. 🤓
4.2 The shot
Once the calculation has been made, there are 2 possibilities:
Don't be surprised if the camera remains in reflection for a long time after capture! This is perfectly normal.
Well done, your long exposure photograph is in the box! All that remains is to post-process it ! I'll see you in a future article where on my youtube channel!
Photographically yours,
David