
How to find the right settings on your camera ?
When it comes to photography, at some stage we're all looking for the perfect setting. As a result, you can spend an inordinate amount of time in the field, taking the same photo several times with different settings, only to return to post-production and realise that there is very little difference between the images. So you say to yourself, what have I missed?
As far as I'm concerned, when I go back to the computer in post-production and compare images taken with settings such as 100 ISO f/16, 1/200th or 100 ISO, f/14, 1/250th, there aren't any big differences.
In my opinion, first of all you have to determine the message, the intention you want to convey in your image. If the basic exposure is good, you need the right setting for the right message. In all this, the most important thing when shooting is to know what you want to achieve.
1. Use your device's resources :
Be careful, there's no question here of working fully automatically! If you did, you'd lose all the creative pleasure. To find the right setting, the idea here is to use your camera's semi-automatic modes, such as priority to openness ( AV ) or shutter speed priority ( TV ), and possibly the programme ( P ). In these modes, you'll have less to think about, freeing up your mind for creativity. The aim is to make as few adjustments to your digital camera as possible, and to reach your creative goal more easily.
2. Aperture (Av mode) :
This mode is called : aperture priority ( Av ). In simpler terms, on your device you will act the " f/ " in other words, the depth of field of your image. In other words, this setting allows you to adjust the image's sharpness zone. As a reminder, the zone of sharpness will be 1/3 before and 2/3 after the area you have focused on. In this mode, you can create a background blur for a portrait or macro shot, or the opposite for a landscape shot, in order to obtain a long range of sharpness.
In practice, setting your device to " Av " . Then, on most cameras, you will have an easily-accessible dial that will allow you to choose an aperture between f/2.8, f/3.5 and f/22 or even f/32, depending on the quality and type of your lens.
To remember: the larger the aperture (the more easily light will enter the sensor), the smaller the number, f/2 f/2.8, the more blurred the background will be. On the other hand, the larger the number, f/20 f/22 f/32, the sharper the background, but the more difficult it will be for the light to penetrate. Please note: Here, if the shutter speed drops too low, you'll need a tripod, otherwise beware of motion blur! The other solution is to use another parameter that we'll talk about later (ISO).
Shooting speed is automatically managed by the camera.
3. Shutter speed (Tv mode) :
This mode is called : shutter priority ( Tv ). On your device you will act on the " 1/60 1/200 etc... " This is the speed at which your image is taken. This setting will allow you to vary and adapt the speed of the shot for a moving subject, such as a car, motorbike, bicycle, ski, etc.
You can take sharp photos by increasing your shutter speed to 1/2000, 1/4000 or even 1/8000, depending on your camera and the speed of your subject, or even better, have fun using intermediate speeds to create blurred photos. (With a little practice).
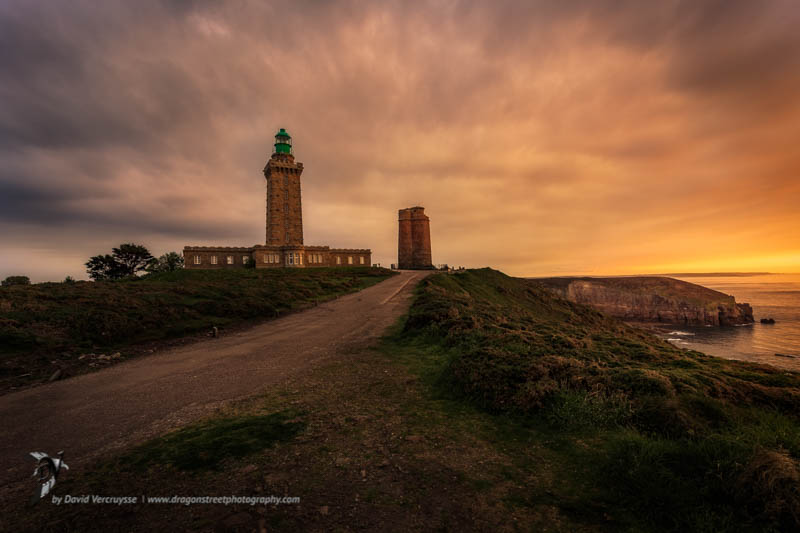
On the other hand, when shooting watercourses or waterfalls, reducing the shutter speed will allow you to use long exposures, which will give a creative blur of movement on the water, rather than the rest of the scenery. Once again, if the shutter speed is too low, a tripod will be necessary.
With only the shutter speed to think about, your camera will automatically manage the exposure.
4. Sensitivity (Iso) :
This is a very useful parameter, which is adjusted more or less periodically. Iso adjusts the sensitivity of your sensor to light. 100 Iso is generally the base. The less light there is, in cloudy weather, indoors, at night, etc., the more it will be necessary to increase the value.
The lack of light forces the camera to slow down the shot to let in more light, so there are 2 solutions: either take long shots on a tripod, or increase the ISO sensitivity of the camera so that the shooting speed does not drop too low, otherwise the photos will be blurred because of the movement (yours and/or the subject's).
In aperture priority mode In this mode, when you increase the " Iso " In this mode, the camera will automatically increase the shutter speed, which means that the shot will be taken faster. As a reminder, in this mode you concentrate solely on the depth of field, with the camera managing the shutter speed to ensure correct exposure. If the shutter speed drops too low, and you don't have a tripod, you'll be forced to increase the sensitivity to shoot faster, otherwise you'll get a " the blur of movement " !!.
In shutter priority mode The creative parameter being adjusted here is the shutter speed. The camera automatically adjusts the aperture to ensure correct exposure. In this mode, increasing the " Iso "This will allow the camera to close the aperture more, as it will be more sensitive to light. (value f/11 and beyond, which will therefore offer greater depth of field).
Important to know Generally speaking, the higher the ISO setting on a camera, the poorer the image quality. Admittedly, digital cameras are becoming more and more powerful, but this is still true. You should try to avoid going too high in ISO, especially with entry-level cameras.
5. A few examples to sum up the correct setting:
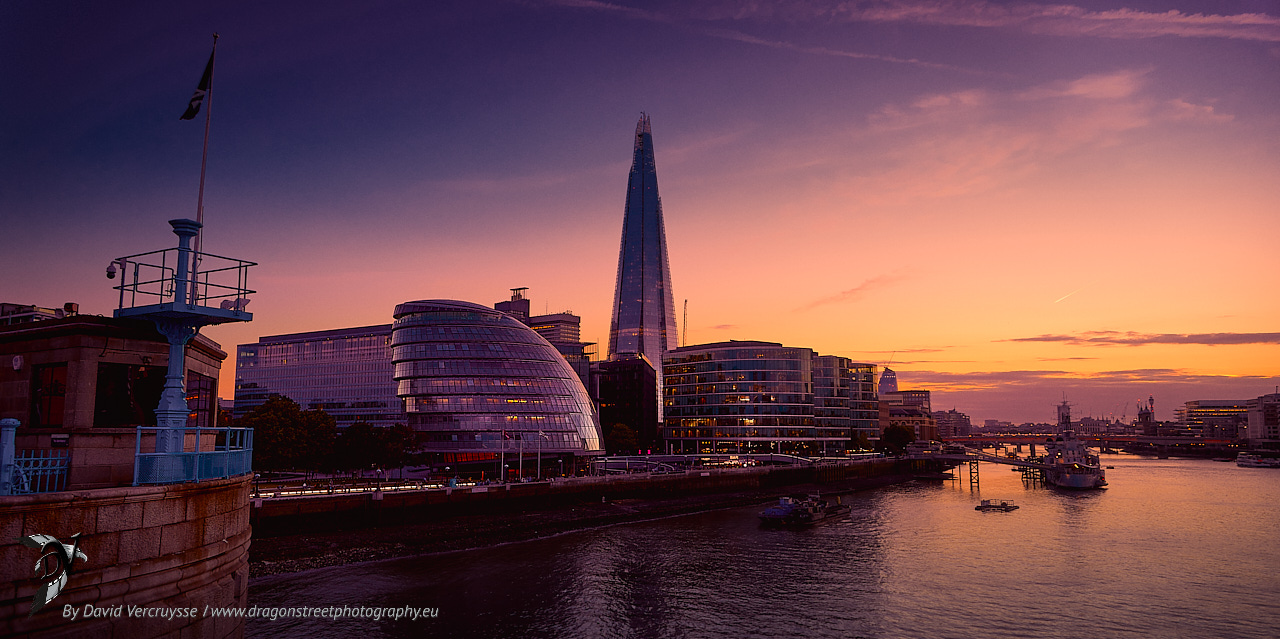
You're on holiday, and you're taking some landscape photos, so you want to take a sharp photo from the foreground to the background, so you'll use aperture priority mode to use values between f/11 and f/18 (beyond that you can lose image quality because of diffraction).
The light is good, the camera takes a photo quickly, no worries. Everything was perfect. In the same case, but at dawn or dusk, the light will be weak, so you'll need to use the tripod because the camera will need 1/2 second, 1 second or even more to take the photo. But if you don't have your tripod handy, you'll have to increase the iso to 400, 800 or more.
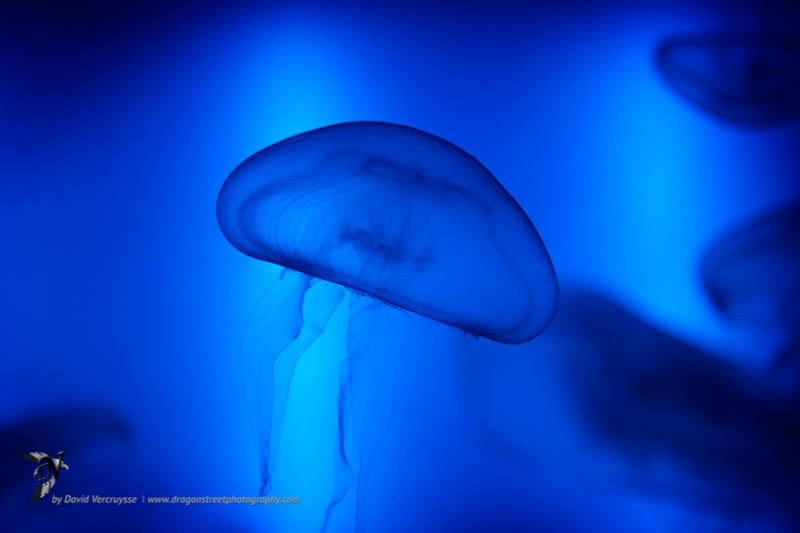
On the other hand, you want to take a portrait with a nice background blur. To get a nice blur, an aperture of f/4, or even f/2.8 would be ideal if your camera or lens allows it. You will therefore need to be in aperture priority mode.
Another exampleIf you want to take a photo of your child doing a bike race or your dog doing a sprint, you need to be able to control the speed of the shot. Set your camera to 1/500th of a second, follow your target with the viewfinder and shoot! But it's too slow, it's blurred, so increase the speed with the thumbwheel, step by step, to 1/1000th of a second, for example. This time it's fine, it's sharp! If your camera refuses to go up a gear because the faster you shoot, the less light comes in (the aperture is already at maximum), only then will you increase the ISO (400, 800...).
On the other hand, you're out hiking, a pretty waterfall comes into view, and you want to make the water silky smooth and the splashes misty. In this case, you'll need to slow down the shot! 1/2 second, maybe 1 or 2 seconds. So you use the shutter speed to adjust the creative effect of your waterfall, more or less blurred. Of course, you'll need a tripod in this case. The camera will do the rest.
6. Programme mode (P) :
In fact, the ( P ) can be a good way of learning to master the "trio". Aperture, Exposure and Sensitivity . In this mode, use the thumbwheel to change the torque. aperture and shutter speed simultaneously". It's up to you to play with the shutter speed or aperture wheel as required. The digital camera will ensure correct exposure by balancing the aperture in relation to the shutter speed.
At the beginning, it may be a good idea to use automatic ISO settings, so as not to bog down the camera too much in its automatic settings.
7. conclusion :
Depending on your situation, you now know which mode to use on your camera. Then simply adjust the value to suit your creativity. If necessary, change the ISO a little to refine the shot. You're now faster at taking your photos, and have more time for composition and creativity! To find out more about photo capture, visit these articles.
Have fun and let me know what you think, or visit my online galleries,
Photographically yours,
David


Excellent article that helps me a lot in my progression in the world of pro photography. Thanks David.
Good evening Edouard ,
Glad it was useful!
Thank you
David